Skip to content
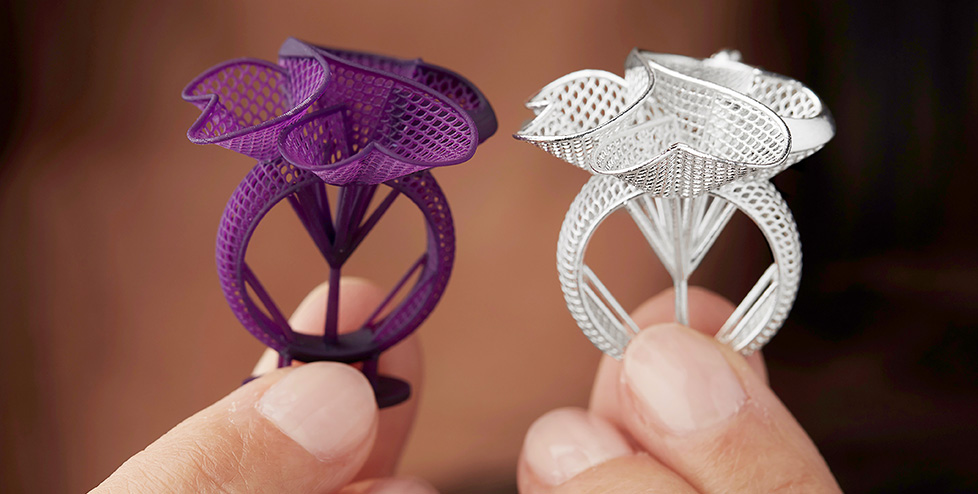
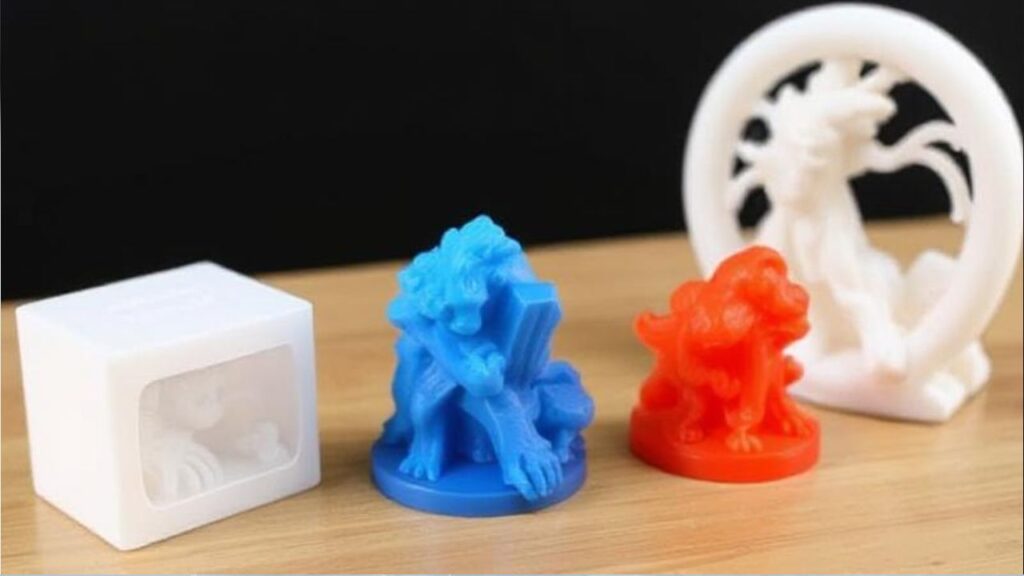
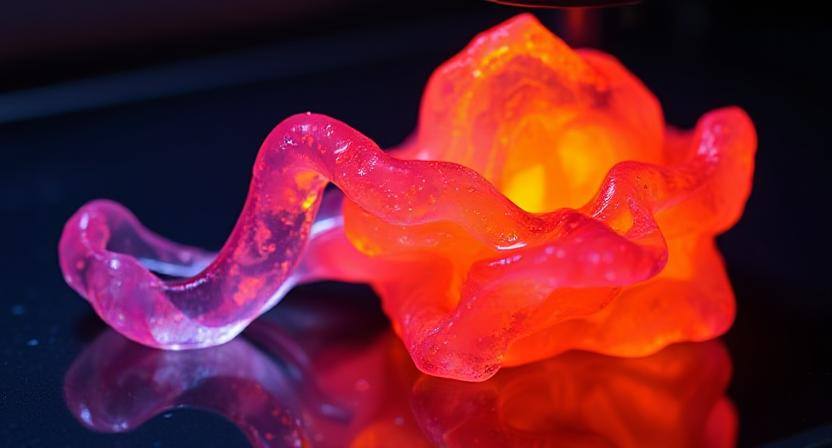
Resin 3D prints has revolutionized the world of additive manufacturing, offering unparalleled precision and detail. But that’s not all, results are not professional if print comes from resin vat. The most important step after finishing print process for its full strength, durability, and high visual quality is post-curing. A print coming out of the machine is only partly cured and thus brittle, tacky, prone to deformation. Deep penetration of light into the exposed print caused by post-curing in an ultraviolet lamp allows resin to cure to the extent that it reaches its ultimate state of maximum physical strength.
There is, therefore a likelihood that it will make the resin functional or ornamental. Good thermal stability accompanied by resistance toward wear would make appropriate post-curing suitable for intense applications. This guide will provide a detailed explanation of why post-curing is important, the equipment you’ll need, and best practices to ensure your resin prints are flawless. Whether you’re a hobbyist or a professional, mastering post-curing will elevate the quality of your 3D prints to the next level.
Why Post-Curing Is Essential for Resin 3D Prints?
It is not only the finishing process but an essential process that increases the performance and durability of resin 3D prints. The moment one takes a print out from the printer, it has partially cured. Now the resin solidifies into the object form but the inner structure is incomplete; thus it may be disrupted and unstable. Subsequent posturing may then reveal a sticky mechanical surface.
Beyond this, the post-curing procedure will not necessarily allow the display of resistance on the layer especially to stressors such as the high/ low temperatures or an impact. When UV activation eventually completes the cure cycle, that is, material hardening is at the molecular level, where the material, therefore, exhibits the rigidity and strength requirement.
The final other aspect to give post curing is an improvement in chemical resilience in the resin. This cannot be degraded under any solvent and similar conditions; moreover, it offers greater thermal stability with its 3D printing to a higher temperature. For this purpose, in most of the application for dental model or prototype of production, post curing can’t be avoided. It also ensures that the surface finish of the print is smooth and free of imperfections for cosmetic and functional purposes.
Tools and Equipment Needed for Post-Curing:
For the best prints, post-curing resin 3D prints require specialized tools and equipment designated for the process. The first and foremost is a UV light source. Depending on the application, this can range from a dedicated curing station to a simple UV lamp. Dedicated curing stations are designed specifically for Resin 3D Prints. They have adjustable light settings, rotating platforms, and control environments, making them best suited to professionals or those resins for 3D printing frequently.
In fact, it will also do to use a UV lamp when your budget is a little tight.
Just make sure to get a model of wavelength at least from 365nm up to 405nm for most resins their curing falls within this spectral range. In that case, ensuring equal curing will be achieved with reflective surfaces, such as aluminum foil, or mirrors. Such 3D printing materials can be set up to direct the UV light in all directions around the print, thus reducing the shifting.
A turntable is also one great accessory that rotates the print to all sides and exposes the UV light evenly to all sides of the print. Finally, don’t forget isopropyl alcohol (IPA) and a soft brush for clean-up purposes, as getting the uncured resin off the resin 3D prints is a preparatory step that will ensure effective post-curing.
Step-by-Step Guide for Post-Curing Resin Prints
1. Prepare Print: Remove the print from the build platform and remove all support structures very carefully. Cut with cutting tools or pliers without damaging the print.
2. Clean the Print: Submerge the print in isopropyl alcohol to break down the uncured resin. Using a soft brush, clean up hard-to-reach details and spaces. Clean and dry before printing.
3. Prepare your UV Light Source: Place your UV lamp or curing station in a solid, well-ventilated room. Your source of light should have an output of UV wavelength that interacts with your selected resin.
4. Mounting the Print on a Turntable: Ensure uniform exposure of print on a rotary platform. If you do not have a turntable, you can rotate the print yourself for curing.
5. Intervals for the Cure Process: Use a 2 to 5 minute interval of cure and monitor the print progress after each cure session to avoid overheating or warping in case of long exposure.
6. Check for Stickiness: After every print cycle, inspect the 3D printing startups for areas that are tacky or have not cured enough. If still not cured, turn on a UV flashlight to ascertain which areas should be further exposed to light.
7. Fine-tune as Needed: Where there are not yet cured regions, readjust the resin 3D prints or reposition the light source such that light strikes those areas
Best Practices to Ensure Uniform Cure
Uniform curing in resin prints is the hallmark of quality. Reflective materials like aluminum foil or even a curing chamber would be used in order to obtain covered curing space. This ensures that UV rays strike all around the print and do not let it develop any opportunity for being better exposed on one side than on others. In case your curing station has a turntable, ensure that the resin 3D prints is put centrally so shadowing does not occur and that all 3D printed parts get fully cured.
Manual: Turn the print upside down every so often so that UV exposure will be evenly spread across the entire surface of the print. Watch the temperature as it cures. Too much heat warps and makes it brittle. Different resins cure at better temperatures than others; use the guideline from the manufacturer for best curing. Pay attention to your cure time too. Overcuring leads to color shift or stiffness while undercured usage of 3D printing will have a fragile quality or will tend to be tacky.
Post-Curing Trouble Shooting
Post-curing can be very troublesome, but most problems are worked out easily with slight adjustments. A stickiness in the resin 3D prints after curing may indicate not cleaning well or not having enough UV exposure. Look again to ensure that all the uncured resin has been removed before curing. If that does not work out, cure a little longer or raise the lights’ intensity depending on your situation.
Warpage is another common type of defect. It occurs most often because of the over-curing process brought on by the heat. Cure the 3D printer in small time increments and keep it away from being too close to the light source. This also might be the problem with light distribution being non-uniform. It might even be resolved using a reflective casing or advancing the light source.
Comparison of Various Techniques for Post-Curing
There are several ways to achieve postcure, and they vary as to what is the advantage or disadvantage. Cure stands produce generally better quality and most simply with UV curing. These combine nice controlled exposures via turntables amongst other such handy features-thus good usability for competent applicators as a convenience product but for most applications are readily done at shops whose cost overhead they absorb:.
More convenient DIY setups are UV light boxes or lamps, but these do require more labor to ensure sufficient curing. There is also the possibility of direct sunlight as the natural UV source, though weather conditions and diurnal variation make it less reliable. A combination of sunlight and some manual UV lamps can make it not too expensive for hobbyists and infrequent users.
Safety precautions in post-curing
All safety rules shall be observed in working with UV light and resin. Gloves and safety glasses are obligatory, protecting eyes from dangerous effects and also blocking the UV spectrum; work in a well-ventilated place so as not to inhale dangerous resin fumes.
Dispose of uncured resin properly, following the guidelines of local waste disposal. Do not pour liquid resin down the drain or in regular trash. Store UV equipment safely when not in use to avoid accidental exposure.
Conclusion
This post-curing allows hardening and strengthening your resin 3D prints so that it would truly become really great. Thus, proper best practices using the right tools and normal trouble-causers one will stumble across in each steps, should ideally yield flawless perfection with nice appearances as quality seems to present and reflect almost expertly-quality images. It all speaks on just how well both hobbyists or professional really have to carry such practices under its wing.
FAQs
1. What is post curing in resin 3D prints?
It is exposing the UV light to the resin prints so that the full curing cycle of the resin may be completed so that the strength and durability of the print may be maximized.
2. Do I get post cure by sun?
You can do that, but you shouldn’t. There is less control of sunlight compared to the dedicated UV source.
3. What do I need for post cure?
UV light source, reflective surfaces, turntable, cleaning supplies.
4. How to avoid warping once post-curing?
Cure in shorter cycles check temperature, UV uniformity
5. What for you post-cure?
This would ensure that you can benefit as much as possible from the mechanical properties, chemical resistance, and the lifetime of your resin 3D prints.